Floor Graphics, Print & Design Inspiration
Create an Underwater 3D Floor Graphic in Illustrator and Photoshop
Jul
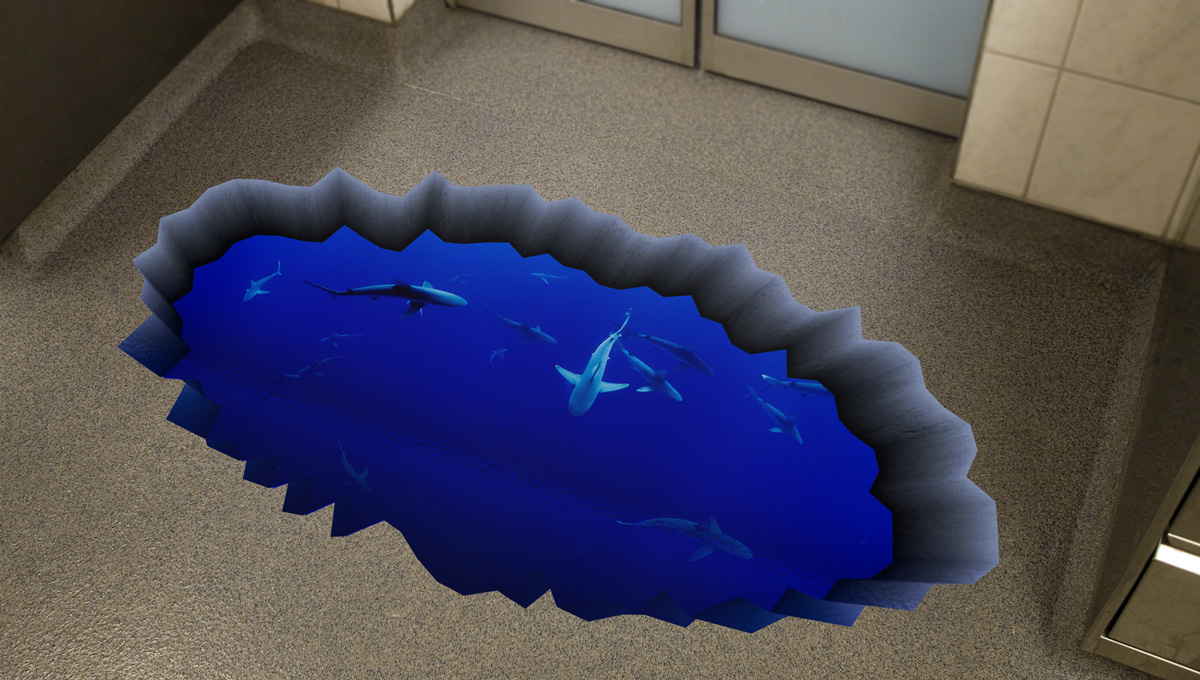
Cracked Ground Underwater 3D Floor Graphic Tutorial
Well-executed 3D floor graphics are sure to stop viewers in their tracks. But creating them has always presented a mystery and difficulty for designers. Today we will share our simple method for creating any floor graphic with a “cracked ground” effect. For this tutorial, we will use an underwater ocean photograph featuring a school of sharks.
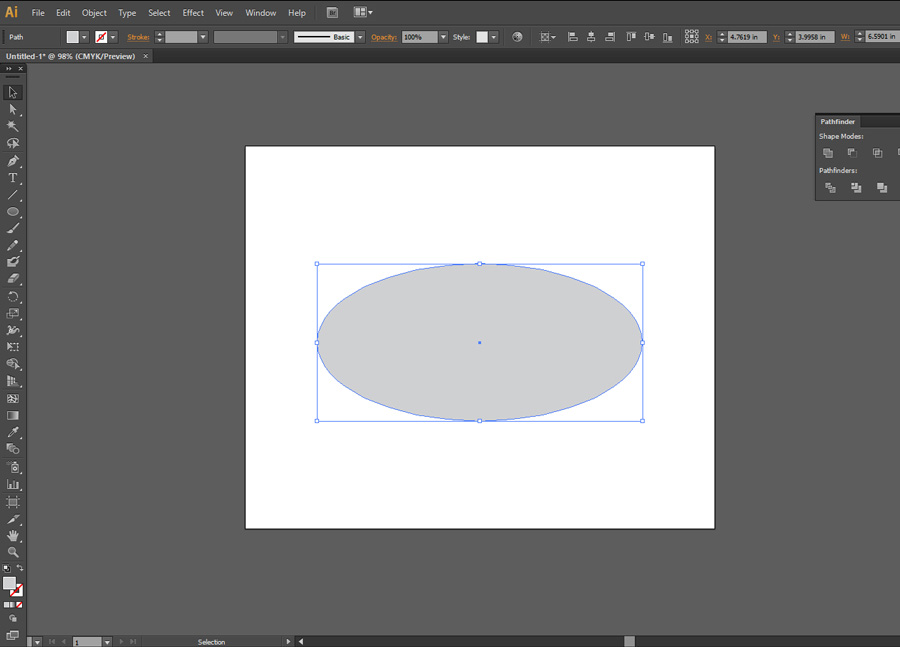
Step 1
In Adobe Illustrator, create an oval (or circle) using the shape tool. Select a color close to the color of the floor that the graphic will be installed on.
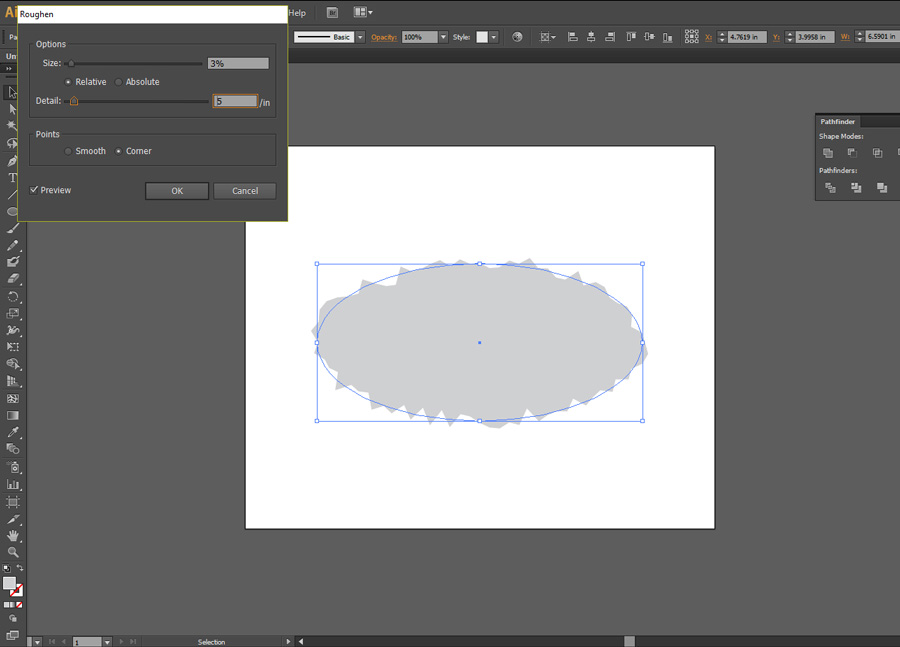
Step 2
Next, select your shape and navigate to Effect > Roughen & Transform > Roughen. You can adjust the settings until preferred roughness is achieved. After that, with the shape selected navigate to Object > Expand Appearance.
Step 3
Copy and paste your shape in place. Change the color of the new shape to black or dark grey and scale it down slightly. Position it toward the bottom of the first shape.
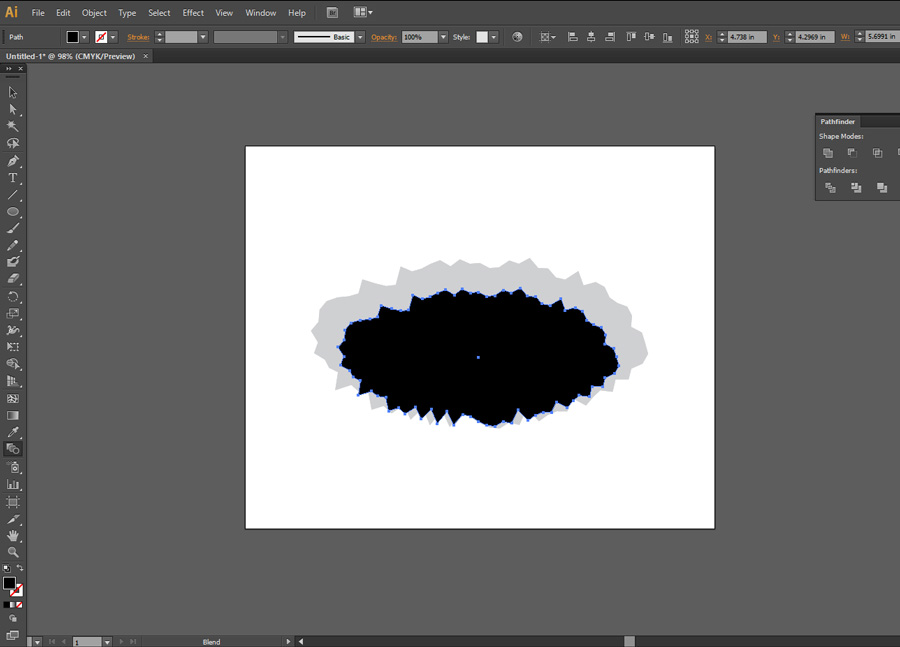
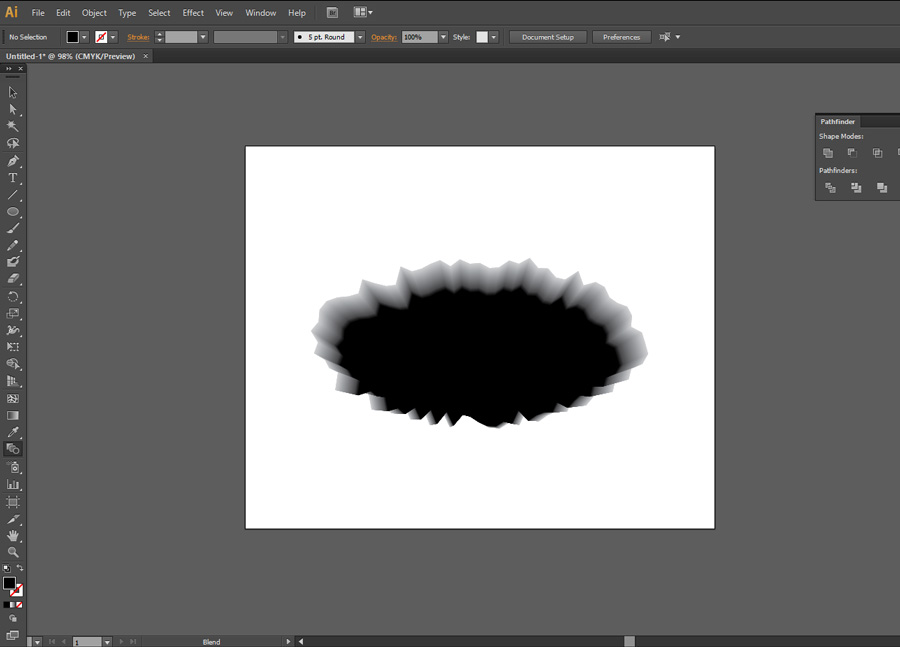
Step 4
Select both shapes, navigate to the Blend Tool (W) and click the edge of the first shape and then the second shape (with the Blend selection tool). This will create a gradient effect like pictured below.
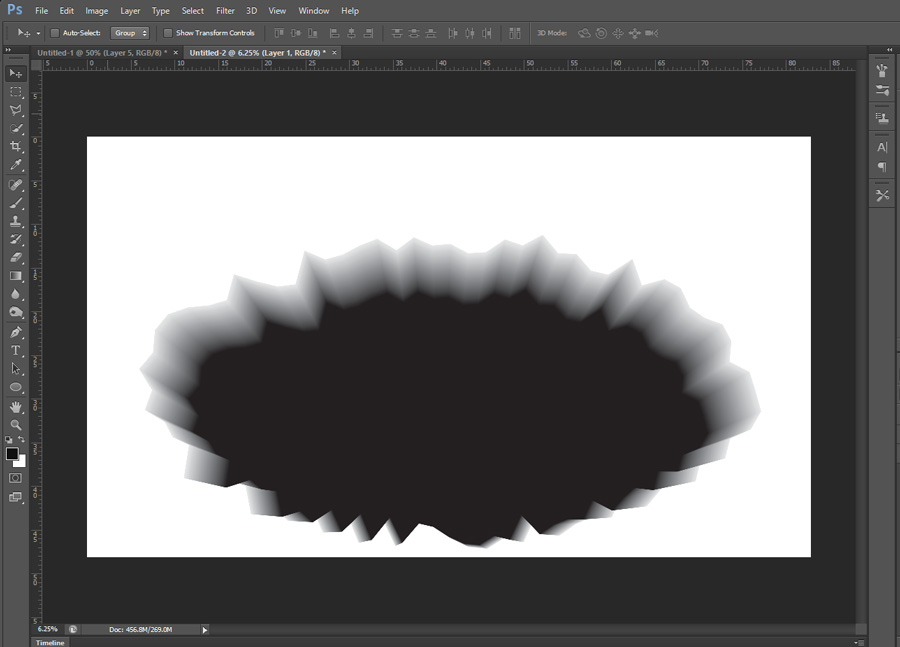
Step 5
For this next step, we will bring the graphic into Photoshop. Create a new document in Photoshop at the desired size of your final printed graphic. Give yourself some extra space on the sides and top of the graphic to work with. Place the graphic as pixels.
Step 6
Head back over to Illustrator and select the inside (darker shape) using the Direct Selection Tool (A). Copy & Paste the shape into Photoshop. Resize the shape to fit into the darker inside shape in Photoshop. We changed the color to blue so it was easier to see while resizing.
Step 7
Its time to add some texture to the inside edges of the hole. We took a photograph of a cement wall to use as our texture.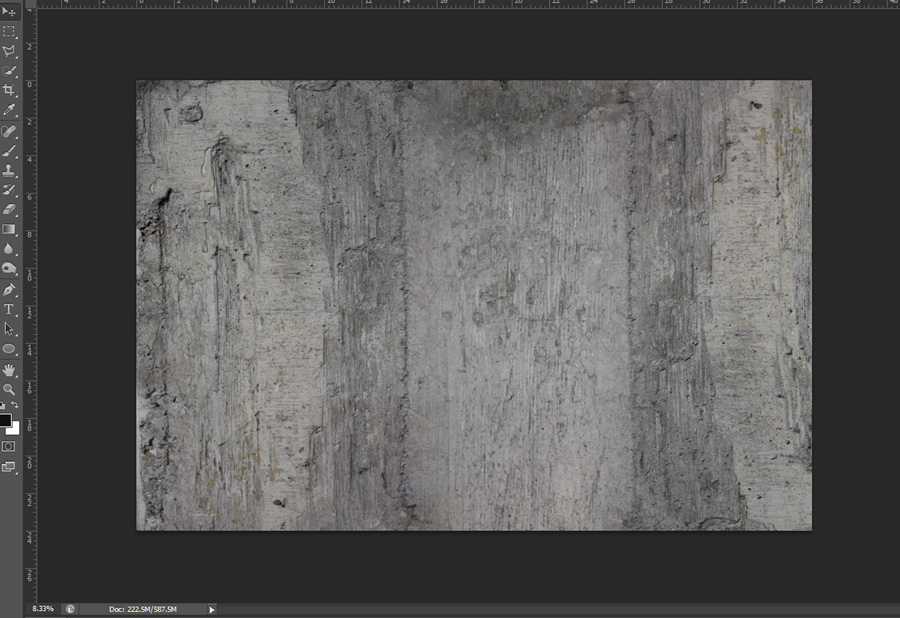
Step 8
Depending on the level of detail in your texture, you may want to copy as paste it multiple times covering all areas of the inside edge. We used the Free Transform Tool to skew the image so it matches the perspective of the graphic. Lowering the transparency of the texture image a tad also helped make it look more realistic. Best to get creative for this step!
Step 9
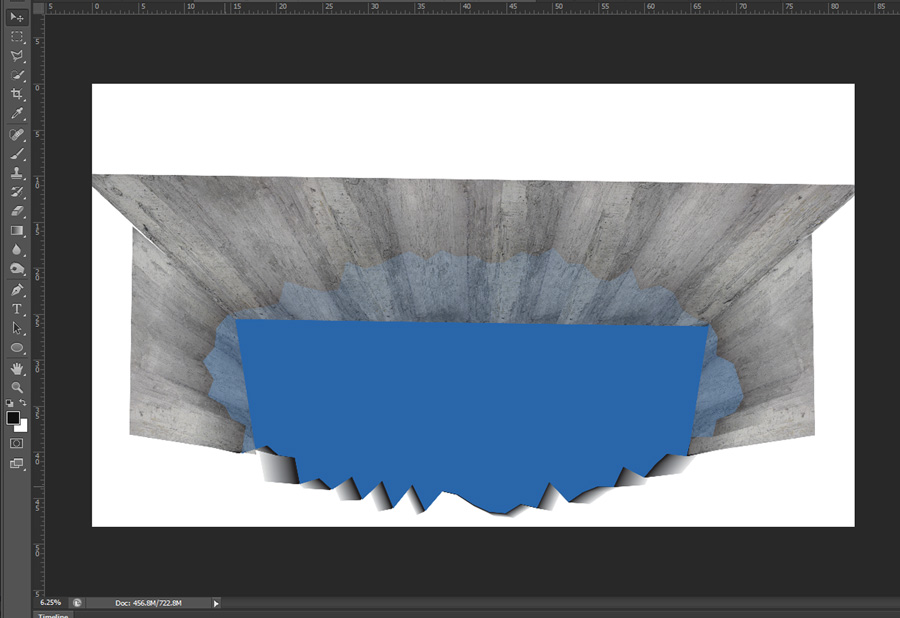
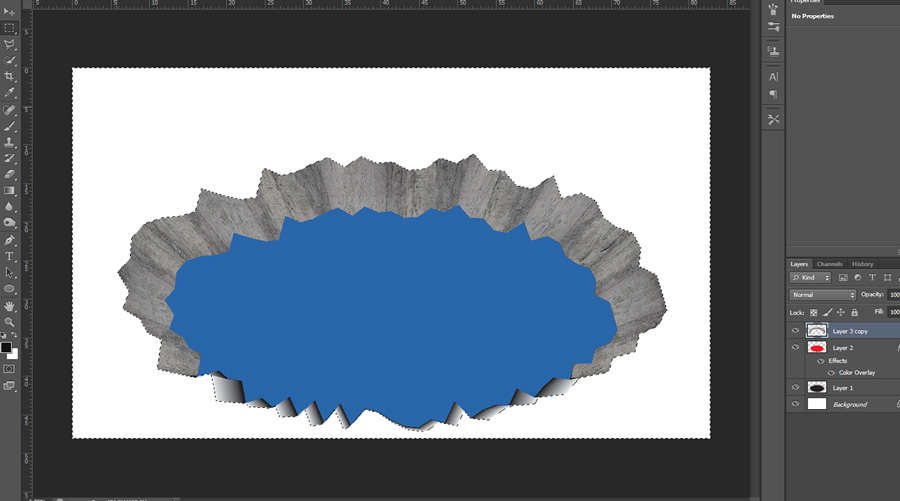
For this step, we will use our two separate graphic layers to cut excess of the cement texture image. With the cement texture layer selected, Control click the inside shape layer to create a selection (the blue shape in our example). Delete the selection to remove the texture that overflows into the blue shape.
We will repeat the step to remove the outer excess texture image except for this step we have to Control click the larger shape layer (with the texture image selected) and navigate to the Rectangular Marquee Tool (M), Right Click near the graphic and Select Inverse. Delete the excess texture image to leave you with something like the image below.
Step 10
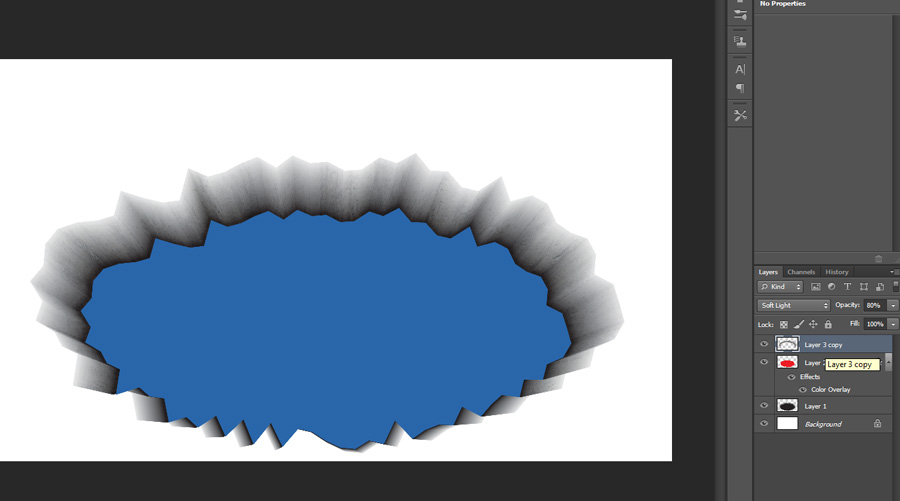
To soften the effect of the texture we changed the layer mode to Soft Light and lowered the transparency to 80%.
Step 11
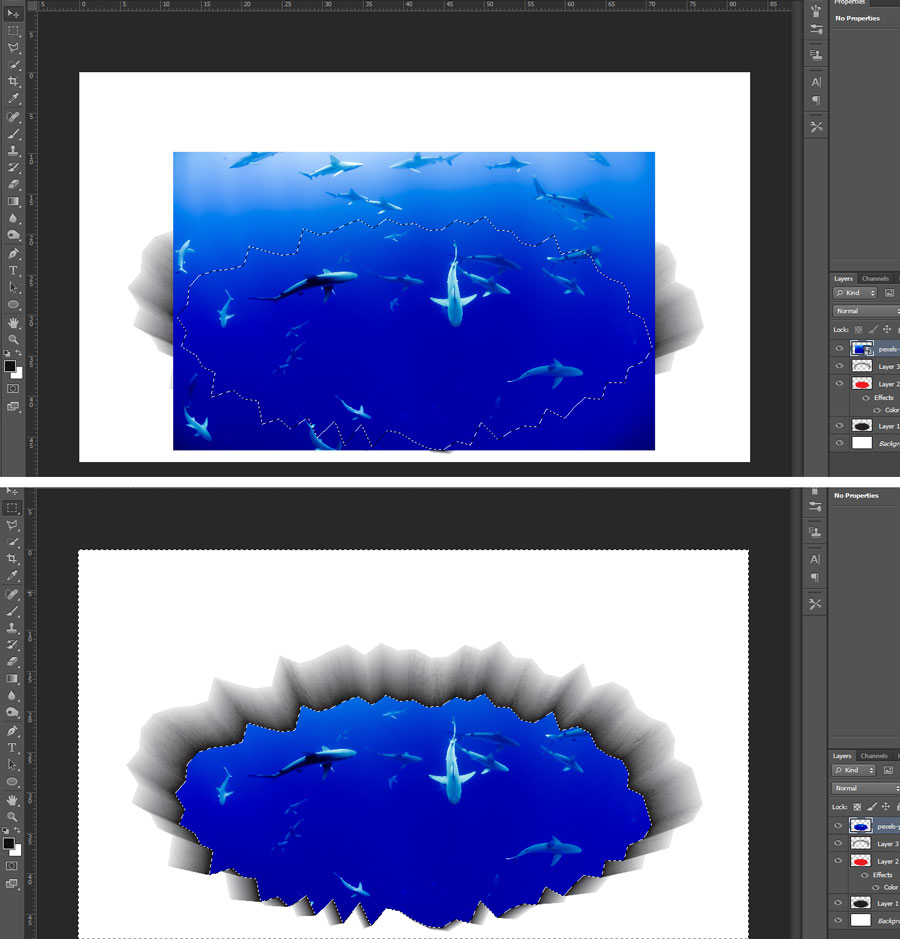
Now for the fun part! We used a stock photo of sharks in the ocean for the center of our hole. We thought it really worked well for this project. Select the image and delete excess areas of the photograph the same way we did for the cement texture image to create graphic that’s looking good and getting close to a finished product.
Step 12
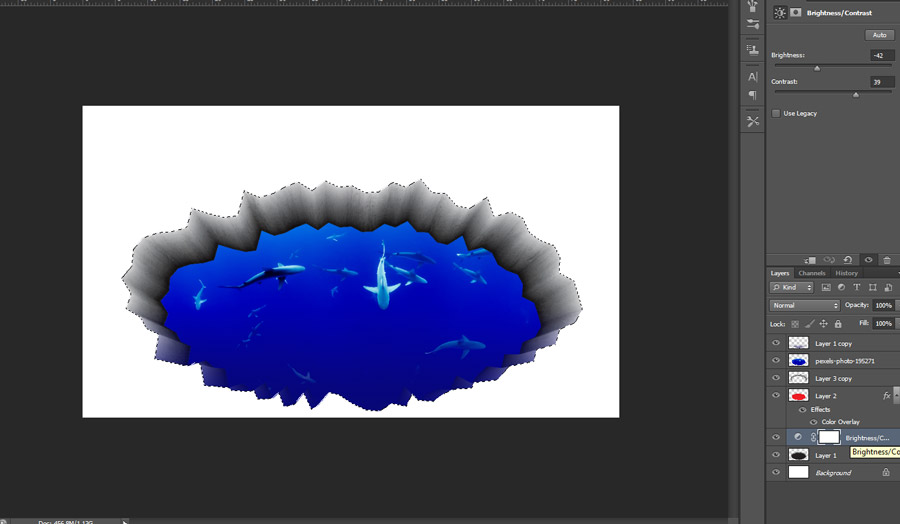
For some additional enhancements, we create an Adjustment Layer to adjust and increase the contrast and decrease the brightness (Layer > New Adjustment Layer > Brightness & Contrast). We added this to our layer 1 toward the bottom of the layer stack to not interfere with the other layers.
We also added a blue gradient coming up from the bottom of the graphic to create a water reflection . Additionally, a blue photo filter was applied to the graphic to further enhance the effect of the glow from the water.
The Finished Product:
Pingback: 3D Floor Graphics - Everything You Need To Know | Matt Hatfield Art
All of your tutorial images are broken links – can you re-upload?
Thanks Greg. Images should be back up again.
Thanks so much! Very helpful.